Indesit AQC9 BF7 T1 (EX) Bedienungsanleitung Seite 40
- Seite / 72
- Inhaltsverzeichnis
- FEHLERBEHEBUNG
- LESEZEICHEN
- Manual de instrucciones 1
- Información importante 2
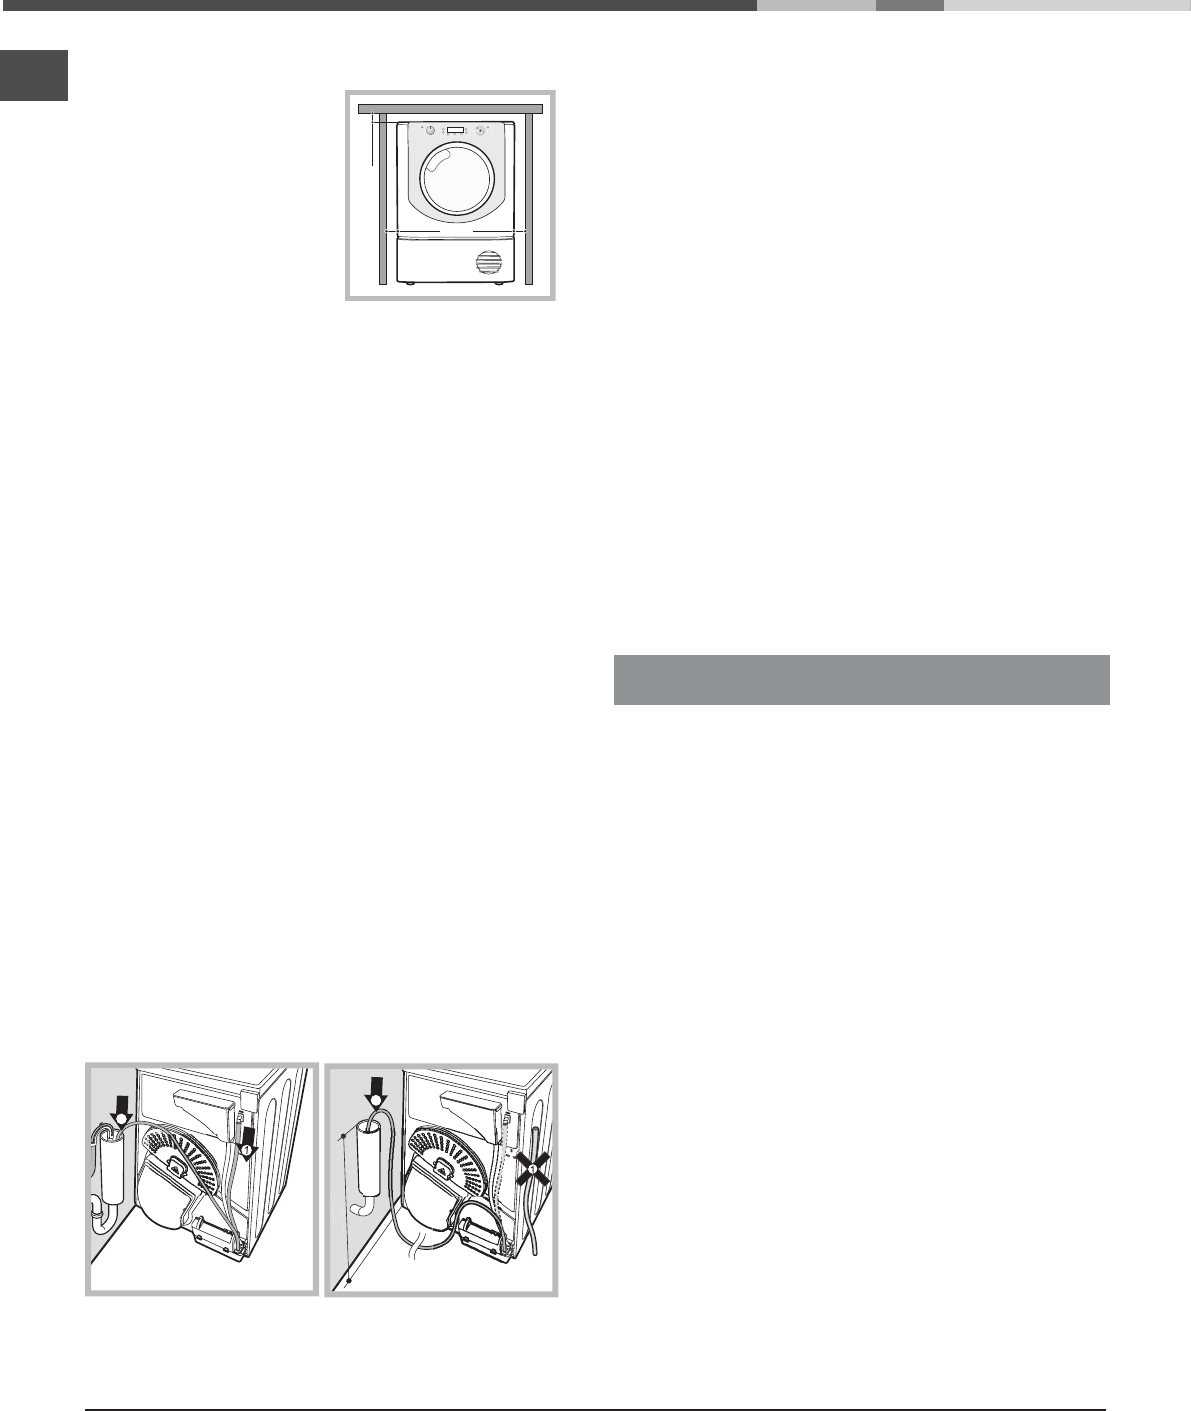
- Instalación 4
- Descripción de la secadora 5
- Secado automático 6
- Secado por tiempo 6
- Comienzo retrasado 6
- Puesta en marcha y 7
- Programas 7
- Programas especiales 8
- Mandos 12
- Subdivisión de la ropa 13
- Etiquetas de mantenimiento 13
- Prendas especiales 14
- Tiempo de secado 14
- Advertencias y 15
- Cuidados y mantenimiento 16
- Problemas y soluciones 17
- Asistencia 18
- Instruções para a 19
- Informações importantes 20
- Instalação 22
- Descrição da máquina de 23
- Início e programas 25
- Programa especial 26
- Comandos 30
- Triagem da roupa 31
- Etiquetas de manutenção 31
- Peças especiais 32
- Tempos de secagem 32
- Advertências e sugestões 33
- Cuidados e manutenção 34
- Problemas e soluções 35
- Assistência 36
- Instruction booklet 37
- Important Information 38
- Installation 40
- Dryer Description 41
- The Display 42
- Start and Programmes 43
- Special Programmes 44
- on the Display unit flashes 45
- The Controls 48
- Sorting your laundry 49
- Wash care labels 49
- Special clothing items 50
- Drying times 50
- Warnings and 51
- Suggestions 51
- Maintenance and Care 52
- Troubleshooting 53
- Comparative Programmes 54
- Mode d’emploi 55
- Informations importantes 56
- Description du sèche 59
- Affichage 60
- Démarrage 61
- Programmes spéciaux 62
- Trier votre linge 67
- Conseils de lavage 67
- ! Ne séchez pas à outrance 68
- Avertissements et 69
- Entretien et nettoyage 70
- Dépannage 71
- Réparation 72
Verwandte Produkte und Handbücher für Elektrische Wäschetrockner Indesit AQC9 BF7 T1 (EX)


 (88 Seiten)
 (60 Seiten)

 (70 Seiten)
© 2020, manymanuals.de. Alle Rechte vorbehalten. | 1.574 s |
 Manymanuals.com
 Manymanuals.de
 Manymanuals.fr
 Manymanuals.it
 Manymanuals.pl
 Manymanuals.cz
 Manymanuals.es
 Manymanuals-pt.com
Kommentare zu diesen Handbüchern